Replacing and Fixing Outdoor Tiles
As practical as outdoor tiles come, they are as fragile as indoor ones. If you drop a sharp object or apply too much pressure, they will get cracks or even split into pieces. There is no need to call a professional, we’re sure you can do the repairs on your own by following our simple yet detailed guide for replacing and fixing outdoor tiles:
1. Remove the damaged tile - gently.
This should be handled carefully so you don’t ruin the surrounding tiles that are in good shape. Target the grout and adhesive with a grout saw, rotary tool, or multi-tool. Using a sturdy scalpel will get the job done. After you frame the tile with a tool, place a towel over it and hit the central section of the area with a hammer. Go easy on this one, as one or two hits will break the tile evenly. Remove the pieces with your hand.
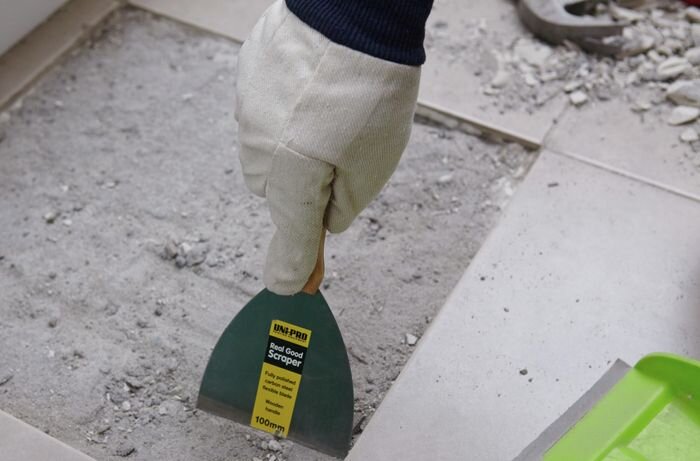
2. Gradually remove the thinset with a chisel and a hammer.
This is the most delicate way of getting rid of the old layers of thinset. It is important to clean and smooth the area in order to prepare it for the new tile. It is better to vacuum the pieces of debris than to use a damp cloth that would make the area moist. Remember, the proper preparation of the area guarantees the longevity of the new tile.
3. Place a layer of premixed thinset as the new adhesive.
At this stage, a notched trowel is your best friend. Take a sufficient amount of the premixed thinset with the notched trowel and spread it over the area to make a thin layer of adhesive. When you place the new tile, the adhesive should not appear at the edges but rather stay under. Take the notched trowel and go over the area to create even ribs. This will even out the adhesive and help you achieve a balanced amount of adhesive applied to prevent any future tile cracks. Better safe than sorry.
4. Set the tile parallel to the floor and place it lightly on the prepped area.
This is a pretty straightforward step. Do it as gently as possible and press it down evenly. Wait for 24 hours for the adhesive to dry completely.
5. Follow the grout label mixing instructions and apply grout.
Once you let the mixed grout rest for a few minutes to absorb the water, use a grout float to apply grout in the spaces around the new tile. As soon as you’re done, use a damp sponge to clean the new tile and the surrounding tiles - be careful not to apply water onto the new grout. Wipe the area with a dry cloth. That one should dry for a few hours.
We all know that it is far too expensive to change the entire set of your outdoor tiles when one or two or more are chipped, broken, or simply lost color and the quality they once had. This guide helps you make your outdoor tile set look neat again by replacing and fixing the broken tiles selectively. Make sure you protect your hands and eyes while replacing and fixing your outdoor tiles and see the rest of our how-to guides that will make your home a safe place to live.
Check out other useful guides on our website and learn how to maintain your flower garden or how to paint and maintain decking.


